How to shrink an image under 100KB without it looking bad
Reduce a photo below 100KB by fixing dimensions, choosing the right format, and lowering quality in controlled steps while protecting important detail.
Updated . How guides are checked
Primary sources checked
Confirm the portal's dimensions, format, and byte limit. Crop wasted space, resize from the original to the required pixel dimensions, then export once as JPG or WebP and lower quality gradually. Aim a little below 100KB, inspect faces and text at normal size and zoom, and keep the source file unchanged.
Start with the destination’s complete rule
Do not begin by dragging a photograph into a random compressor. Read the upload field and official instructions first. The same portal can apply different requirements to a photograph, signature, logo, certificate, and supporting document.
Write down every check:
| Requirement | Example | Why it matters |
|---|---|---|
| Maximum bytes | 100KB | The stored file must stay below the ceiling |
| Pixel dimensions | 600 by 800 px | A smaller file with the wrong shape can still fail |
| Format | JPG | WebP may be smaller but rejected |
| Colour | Colour photograph | Greyscale can violate an identity rule |
| Composition | Face centred | Cropping too tightly can cause rejection |
Treat “under 100KB” as one constraint, not the whole assignment. If the portal does not say whether KB means 100,000 or 102,400 bytes, target less than 100,000 bytes. A cushion around 95KB can absorb different rounding displays, but it is not a universal requirement.
Save the official rule or take a screenshot. Limits can differ by year, application, and upload field.
Protect the original before editing
Make a working copy and leave the original untouched. Lossy compression discards visual information. Recompressing the result several times compounds artifacts because each new encoder works from an already damaged image.
Return to the clean source for every serious attempt. Use filenames that make the sequence obvious, such as:
portrait-original.jpgportrait-crop.jpgportrait-600x800-under-100kb.jpg
The final name should remain plain if the destination is old or strict. Letters, numbers, hyphens, and underscores avoid many avoidable filename errors.
Remove pixels before crushing quality
A phone image can be 4000 pixels wide even when the destination displays it at 600 pixels. Quality compression alone keeps that oversized pixel grid. Chrome’s Lighthouse guidance recommends serving images near their rendered dimensions because surplus pixels waste transfer bytes.
Use this order:
- Open Crop Image and remove only irrelevant background or empty margins.
- Match the target aspect ratio without cutting hair, chin, signature strokes, document edges, or required context.
- Open Resize Image and create the exact dimensions stated by the destination.
- Keep proportions locked when the source shape already matches.
- Download the resized copy, then compress it.
For a 600 by 800 requirement, forcing an unrelated landscape photo directly into those numbers will distort it. Crop to a 3:4 portrait shape first. The exact pixel resizing guide explains crop, fit, and stretch decisions in detail.
Correct dimensions usually preserve more quality per byte than extreme compression of a huge source. Enlarging a small original is different: it creates estimated pixels but cannot recover lost focus or detail.
Pick a compatible output format
JPG is the normal choice for opaque photographs and compatibility-sensitive forms. It supports controlled lossy compression but no transparency. WebP can produce an efficient photo and supports transparency, although a portal that lists only JPG and PNG may reject it.
PNG uses lossless compression under the W3C specification. It is valuable for transparency, line art, and sharp flat graphics, but an ordinary photograph can remain far above 100KB. Changing a large photo from JPG to PNG usually moves in the wrong direction.
| Content | Practical first choice | Check before submitting |
|---|---|---|
| Identity or ordinary photo | JPG | Portal format list and facial detail |
| Website photograph | WebP | Browser and publishing workflow |
| Logo or interface capture | PNG or lossless WebP | Text edges and transparency |
| Signature on white | JPG if required | Thin strokes and exact background |
Use WebP vs AVIF vs JPG for a broader delivery decision. For a strict form, the published accepted formats override a generic web recommendation.
Compress in controlled steps
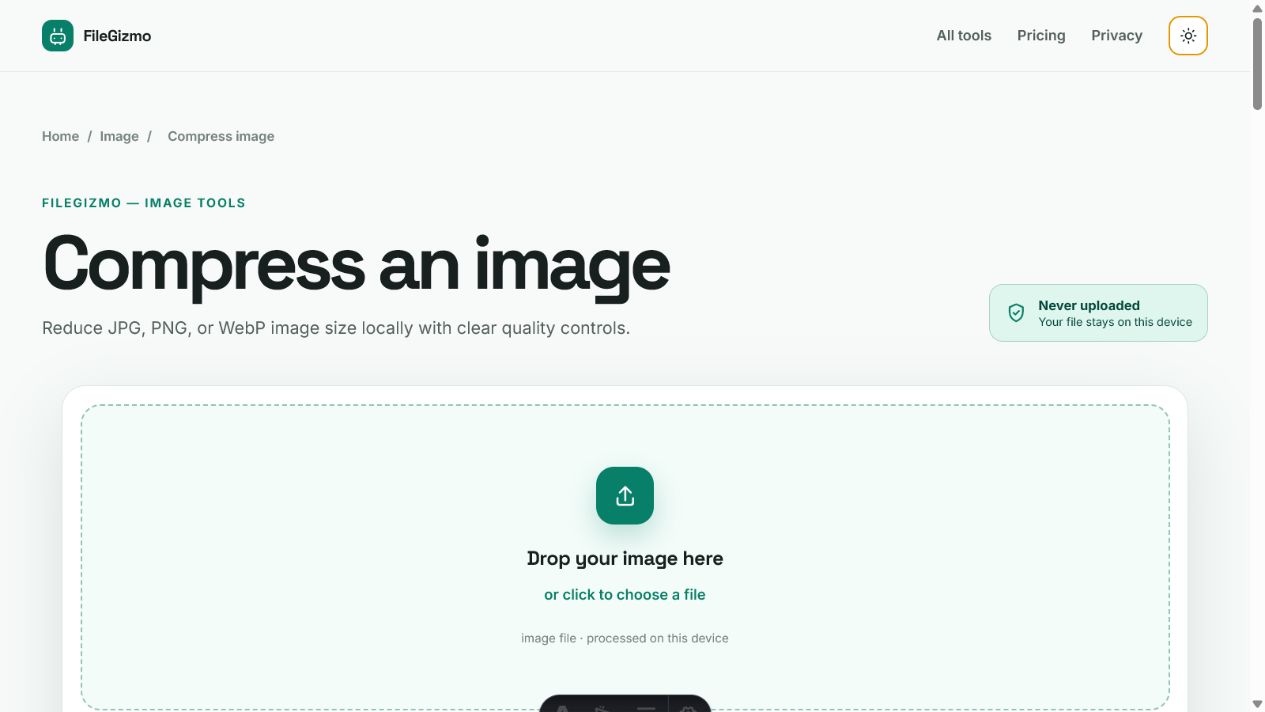
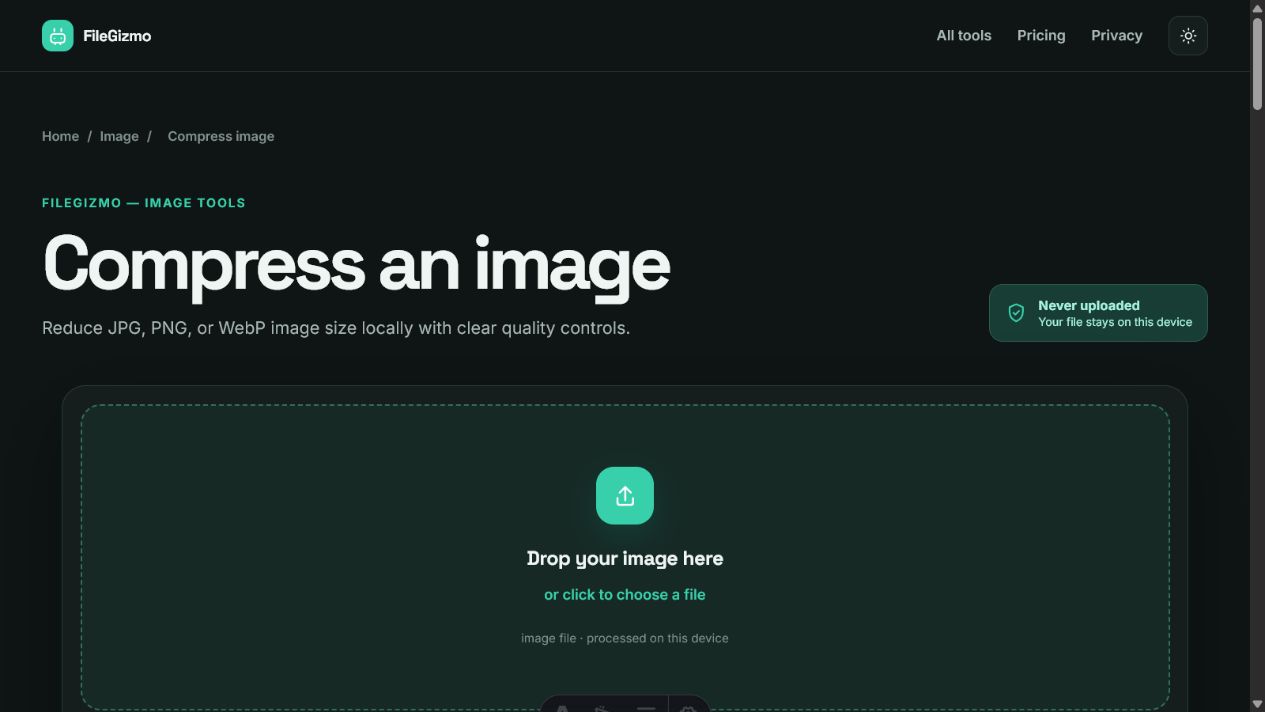
Open Compress Image and choose the resized working copy. FileGizmo processes JPG, PNG, and WebP inputs locally in a browser worker. For practical lossy output, choose JPG or WebP, then test the presets in this order:
- Start with Balanced.
- Read the actual output size and inspect the preview.
- If it is over the limit, return to the clean resized copy and try Smaller.
- If the result is comfortably under the limit, compare Higher quality to see whether it still fits.
- Download the clearest candidate that remains below the real ceiling.
The tool does not promise an exact 100KB target. Different images contain different amounts of hard-to-compress detail. Foliage, hair, fabric, fine noise, text, and gradients can demand more bytes than a clean portrait against a plain background.
Avoid chasing exactly 100.0KB. The goal is a valid file with adequate detail, not a decorative number. If the smaller preset looks poor, reduce dimensions only when the destination permits it, simplify an irrelevant crop, or use a larger allowed limit.
Inspect the details that fail first
Check the downloaded file in a separate viewer, not only in a small browser preview. View it at the size people will actually see and at 100 percent zoom.
Inspect:
- eyes, hair, and facial boundaries;
- signature strokes and small printed text;
- gradients, sky, and smooth skin for banding;
- diagonal edges for ringing;
- dark areas for blockiness;
- transparent or semi-transparent edges;
- QR codes, barcodes, seals, and registration numbers.
Compression can make faint writing unreadable before the overall photo looks obviously bad. W3C contrast guidance explains why text and images of text need sufficient foreground-to-background contrast. Compression cannot repair poor source contrast, and aggressive settings can weaken it further.
Do not remove or alter evidence in an identity or document image to save bytes. A clean crop may remove an empty desk around a certificate, but it must not remove seals, margins required by the authority, or any meaningful content.
Diagnose a portal rejection
First verify the downloaded file’s stored byte count in the operating system. Next confirm pixel width, height, real encoding, extension, orientation, and filename. An error labelled “file too large” can be generic and may conceal a format or dimension failure.
If the image opens locally but the portal rejects it:
- re-read the current official notice;
- ensure the file is below the stricter 100,000-byte interpretation;
- use JPG when the field lists JPG or JPEG only;
- remove special characters from the filename;
- confirm that the image is not an animation or unsupported colour mode;
- try a newly exported copy from the clean source.
For Indian application photos and signatures, consult the living government exam size-limit guide and then verify the active official notice. A broad tutorial cannot replace the live application’s rules.
FileGizmo keeps this preparation on the device, but privacy is only one part of a successful submission. For background removal specifically, the free background remover comparison sets FileGizmo against remove.bg, Canva, Photoroom and Adobe Express. Keep the master, submit only the verified derivative, and stop compressing when required information is no longer clear.
Tools for this guide
Frequently asked questions
How many bytes is 100KB?
It can mean 102,400 bytes in a binary convention or 100,000 bytes in a decimal convention. A strict portal may use either, so aim below 100,000 bytes unless its documentation states otherwise.
Can I make every image smaller than 100KB without visible damage?
No. A large, noisy, detailed, or text-heavy image may need smaller dimensions or visible quality loss. Use the largest limit the destination permits and never sacrifice required legibility merely to reach a number.
Is JPG or WebP better for a 100KB photo?
WebP often gives a useful quality-to-size result, while JPG has wider compatibility with forms and older systems. Follow the destination's accepted-format list before choosing the smaller output.
Does FileGizmo guarantee an image below 100KB?
No. It provides smaller, balanced, and higher-quality presets and reports the actual output size. Resize first, test a preset, inspect the preview, and repeat from the clean source if a smaller result is needed.
Primary references
- MDN image file type and format guide, updated 7 April 2026
- Chrome Lighthouse properly size images guidance, updated 2 May 2019
- W3C Portable Network Graphics specification, Third Edition
- JPEG Committee JPEG overview, checked 25 July 2026
- Google WebP documentation, updated 7 August 2025
- W3C understanding minimum contrast, checked 25 July 2026
- FileGizmo security policy